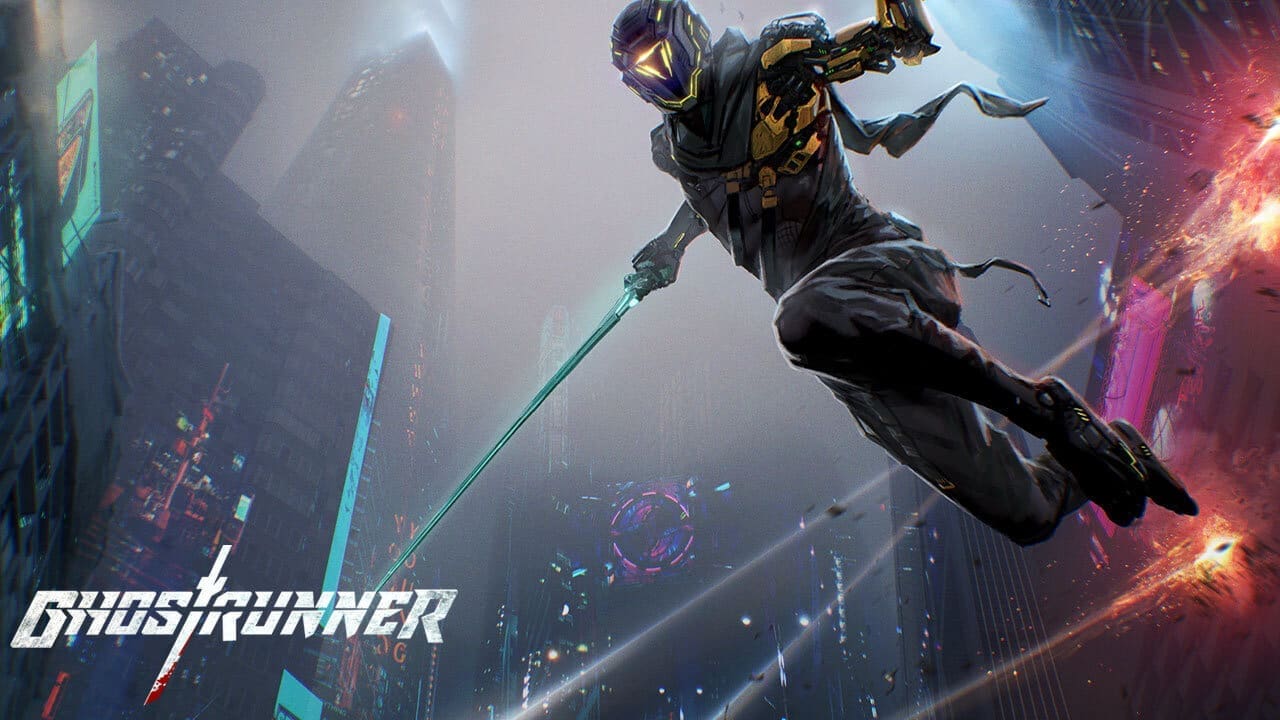
Each boss in Ghostrunner presents a new challenge and tests the skills you’ve learned so far. If you’re struggling with any fight (including the final level), you’re in the right place. Below are tips, tricks, and videos to help you keep climbing Dharma Tower.
Index
- T-073-M (Level: “The Gatekeeper”)
- HEL (Level: “In Her Own Image”)
- Mara (Level: “The Summit”)
- The Architect (Level: “The Monster”)
“The Gatekeeper” — T-073-M
There are three stages to this fight, each with a helpful checkpoint.
Phase 1: Dodge the rotating laser beams while climbing to the next platform, then land your first strike on T-073-M. If timing the jumps and laser gaps is tricky, see the video below.
Phase 2: A vertical blast now radiates up the walls. Grapple to the walls and, when a blast climbs toward you, jump out and over it to reach the mid-fight checkpoint.
Phase 2 (continued): Back at the core, grapple to more wall-run platforms. Lasers circulate and the wall blast still threatens. The laser pattern here is simpler; the challenge is cleanly jumping the blasts and dashing back into the wall-run. Reach the top to land strike #2.
Phase 3: The easiest section, with a mid-segment checkpoint. Jump over floor blasts, slide under rotating lasers, and strike the marked weak point in front. Repeat from the back. Finally, keep dodging until you can grapple to the top and deliver the core kill.
“In Her Own Image” — HEL
Arguably the hardest fight because there are no checkpoints: you must burn through four health bars in one clean run. The moveset is consistent, so learn the patterns.
Parry strings: HEL opens with katana combos. Counter just like other katana enemies, but multiple times in a row. Watch the blue bar beneath HEL’s health — each successful parry drains it; when it empties, you can land a hit.
Ranged pressure: Between exchanges, HEL teleports to a random platform and peppers you with projectiles. If HEL jumps near the “super-jump” pickup, grab it and dive from above — consistently the safest engage. Otherwise, close distance while dodging until you can restart the parry loop.
Repeat this cycle four times for the win. “Flawless.”
“The Summit” — MARA
Mara (the Keymaster) feels like a classic mascot-platformer boss: readable attacks, three phases, and checkpoints between each.
Phase 1: Dodge swipes and sweeping arms (sidestep or jump a limb). Bait the linear pierce so it hits one of the three power boxes; her arm sticks — dash in and sever it.
Phase 2: Adds underground AOE spikes — give them space. Thirds of the floor intermittently electrify. When she yells “how dare you” and the entire floor lights up, grapple to the walls and circle until safe. Bait the pierce to the second box.
Phase 3: She electrifies lanes and advances left, then right, while mixing in slams and ground swipes. Move with her and keep dodging. When the floor fully lights again, take to the walls until safe, then bait the final pierce into the last box for the finisher.
“The Monster” — THE ARCHITECT
The finale isn’t a traditional boss, but it’s a skill gauntlet in cyberspace against a data wall — heavy on wall-runs, launchers, grapples, and orbs. There are checkpoints between segments.
Segment 1: Wall-run and climb to a sky platform flanked by moving walls. Use dash to line up runs and jumps across platforms; hit the mid-air launcher and keep running as it throws you upward. Don’t miss the grapple at the end.
Segment 2: Moving platforms plus red orbs. Dash and thread the gaps; grapple mid-way; aim for the back-left launcher to progress.
Segment 3: Ride a launcher, then chain quick dashes across platforms. At the end, 180° turn to spot the next launcher, then a third, then land.
Segment 4: Conveyor of wall-run panels with attached orbs. Start left; to bypass an orb, hop diagonally to the right, then dash back to the safe lane after it. Repeat until clear.
Segment 5: A room of approaching red orbs. Take it steady; weave to the exit launcher.
Segment 6: More wall-jumps and spaced launchers. Near the end, platforms pop in late — use dash’s slowdown to correct mid-air. Grapple up into the next orb room.
Segment 7: Denser orbs and missing floor pieces. Use walls to bridge gaps and dash to adjust landings between orb lanes. When you see the final launcher, wait for an opening, dash through, and you’re done. Enjoy the ending!
If this guide helped (or if you’re just loving the game), drop a comment below. I scored Ghostrunner a glowing 9.5/10 — read the full review here.


![Dungeons & Dragons Gift Ideas For Young & Old Players [Christmas Gift Guide]](https://b3313143.smushcdn.com/3313143/wp-content/uploads/2020/11/Dnd-Gift-Guide.jpg?lossy=2&strip=1&webp=1)
