Explosion Network may receive a commission when you purchase something via a link on our site
What Is It? Rear button attachment and modification for the PS5 Controller. For remappable additional buttons for the rear of the controller. The colour is Clear Atomic Purple.
Compatible With: PlayStation 5 Controller Model BDM 010/020
Difficulty: Advanced, Guide
Model: YPFM5002
Where To Buy: Extreme Rate
Price: $27.99
Last of the Extreme Rate controller modifications is the, and it was a beast. This modification has optional soldering, which was a bit of a concern for me, as I have not soldered in a long while. Following the guide, it states approximately forty minutes to complete, I was closer to an hour and fifteen with soldering.
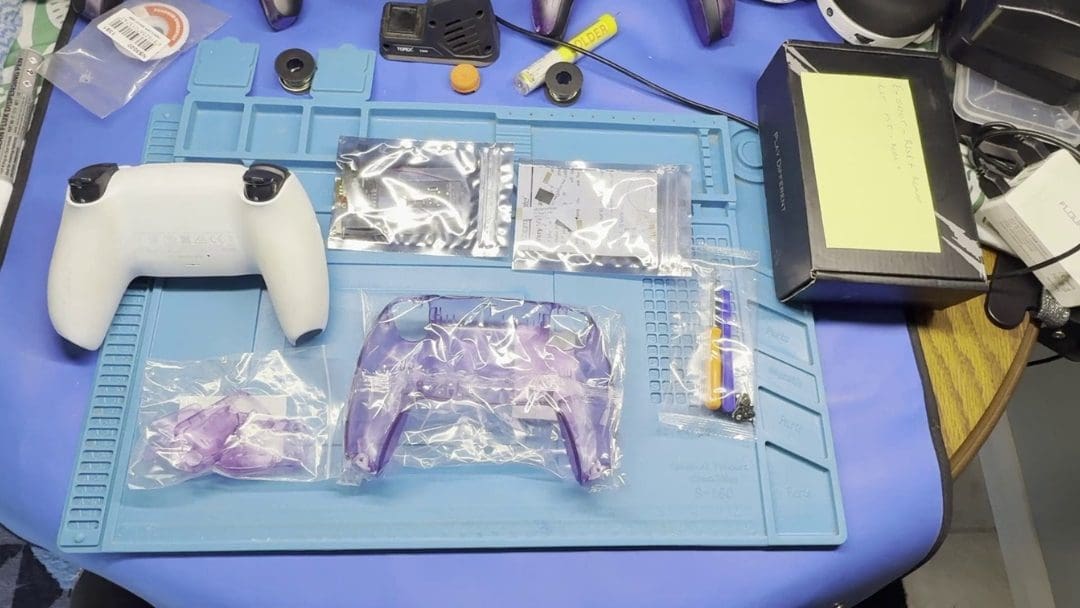
This kit comes with the rear buttons, a rear controller case in clear atomic purple, screws, a screwdriver, a plastic pry tool, and the circuitry for the additional buttons. The additional items I needed were the LTT Small screwdriver set, the iFixit Screwdriver set, solder, flux, a wireless soldering iron, a clip-on LED light, so I could see and an anti-static soldering repair mat.
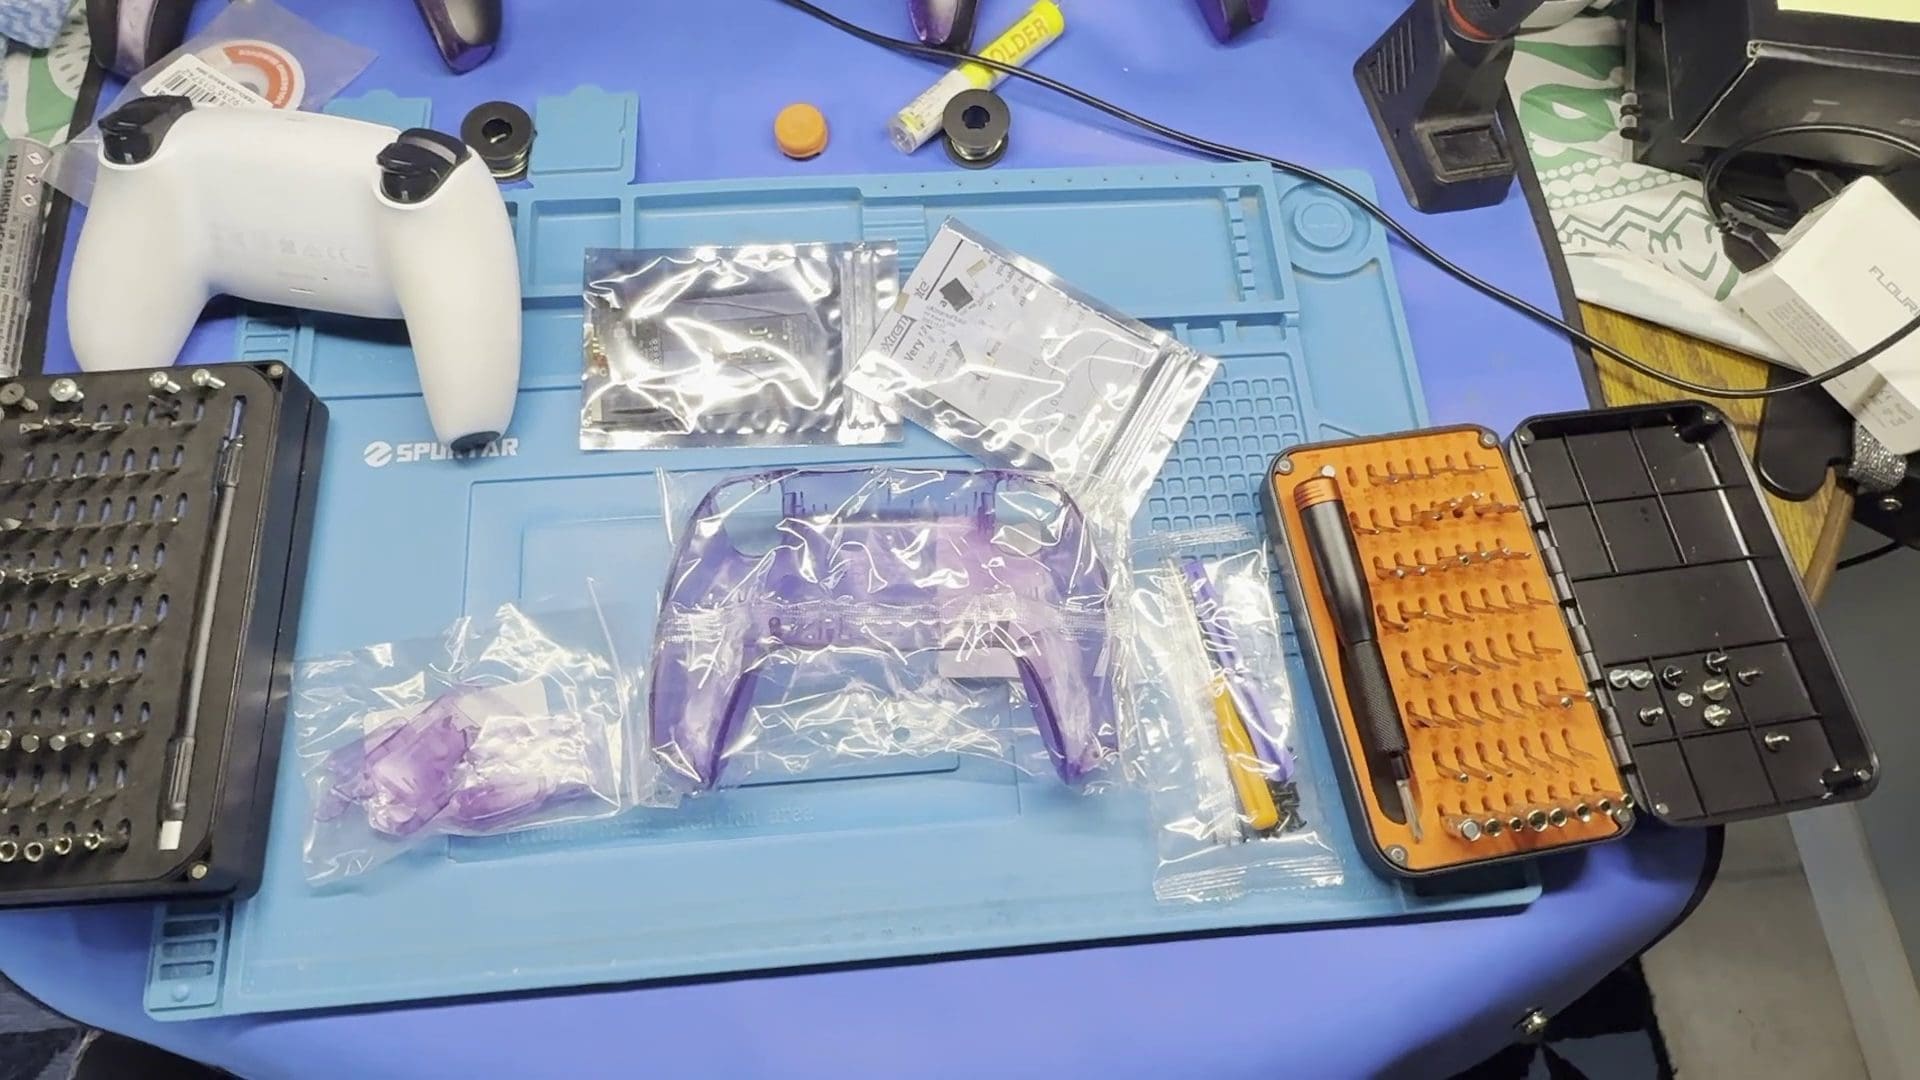
With this setup, I was ready to complete the task of adding the additional buttons to my controller. I started by moving everything aside, so I had a decent workplace. With practised ease, I began the process of dismantling my third controller. Quickly accessing the internals and disconnecting the battery, as with the previous modifications, there are ways in which this can go wrong. I was careful when removing the internal cables not to bend or break them. With the ribbon cables disconnected and the circuit board removed, it was time for the next step.
At first, I wasn’t going to do the soldering task, which would have meant I couldn’t assign the rear buttons to function for the touchpad, or the R3 and L3 Buttons. But after a deep breath and a moment of contemplation, I decided that I had the skill needed to complete the task. With the controller apart, it was time for the first point of solder, the rear of the touch pad circuit, requiring a small bit of solder to be connected to a small wire. I added the solder and then applied the wire; it took approximately two tries to get the wire attached.
The following step was to pass the wire through the plastic, ready to be attached to the other circuitry. It was then on to the next stage, soldering the circuit board to the R3 and L3 ribbon cable. Again, a light bit of solder was applied, and completed this time in one go. Then it was time to feed the wire I previously soldered to the touch pad through the controller as well as its ribbon cable, ready to attach. Then it was the task of reseating the circuit board, ready to replace the ribbon cables and solder the last bits. With the small wire now soldered to the main board of the Extreme Rate mod, it was now time to attach the ribbon cables and begin the process of putting the controller back together.
Lining the pins up and then wrapping the flexible board around the main circuit board, and ensuring nothing was caught where it shouldn’t be. It was now time to cut the supplied ribbon cables, and as with the lighting kit, I checked, double and triple against the circuit board to ensure I trimmed the right bits. With that complete and no further soldering left, it was now time to put the ribbon cables into their required slots. Then it was time to put the controller back together.
Following the instructions, the ribbon cables were placed in and connected to the additional board attachment, then once the battery was on, the cable was poked through the rear of the new controller backing. Where I attached the additional buttons, after putting the button backing together. Even if I did try to put the outer buttons on the wrong sides, the last part was putting the extracted ribbon cable into the back side of the controller and then putting the controller back together.
After putting the controller back together, I tested it to find that one side of the trigger and bumper buttons was not working, and I had to pull the controller apart and reseat the cable. Once this was completed, the controller worked as intended, and I was able to begin assigning buttons to the rear.
Overall, this modification was quite challenging, and it would have been easier if I had skipped the additional soldering tasks. However, I’m glad I took the extra time to complete the full modification. The rear buttons add extra practicality to the controller and are more cost-effective than upgrading to the Edge controller. While the controller may not look significantly different, it will no longer charge on the Sony dock without an additional modification. The triggers are convenient to press and do not interfere with standard gameplay.


I have used this controller frequently over the past few weeks, and it has become one of my favourites. Even when switching the controller to different devices, the rear buttons retain their settings. Whether I’m using it on PC, PS5, or Deck, it functions the same way. Changing the button assignments is straightforward; simply press the centre button on the rear to enter learning mode, then press the rear button along with the button you want to assign. The light will flash to indicate that it has successfully learned the new assignment, and you’re all set. Check out the installation video below.
(Review Product provided to Explosion Network.
Read about our review and ethics policy here.)