Explosion Network may receive a commission when you purchase something via a link on our site
What Is It? Lighting Kit for the PS5 Controller, for illumination of buttons and joysticks.
Compatible With: PlayStation 5 Controller Model BDM 010/020
Difficulty: Intermediate Level, Guide
Model: PFLED02G2
Where To Buy: Extreme Rate
Price: $33.99
A while back, I got some gear from Extreme Rate to modify my PlayStation 5 controllers. Unfortunately, at the time, I was only able to get to two of the projects. This was the clicky buttons and the reskinning of the Switch Pro Controller. After moving homes and finally unpacking most of my gear in the computer room, I found the PlayStation 5 Mod kits.
The first of these kits was a lighting kit. I currently have three compatible controllers to work with. Two white and one black, utilising the Extreme Rate website and a QR code on the rear of the controllers, I was able to identify the models and compatibility with the lighting Kit.
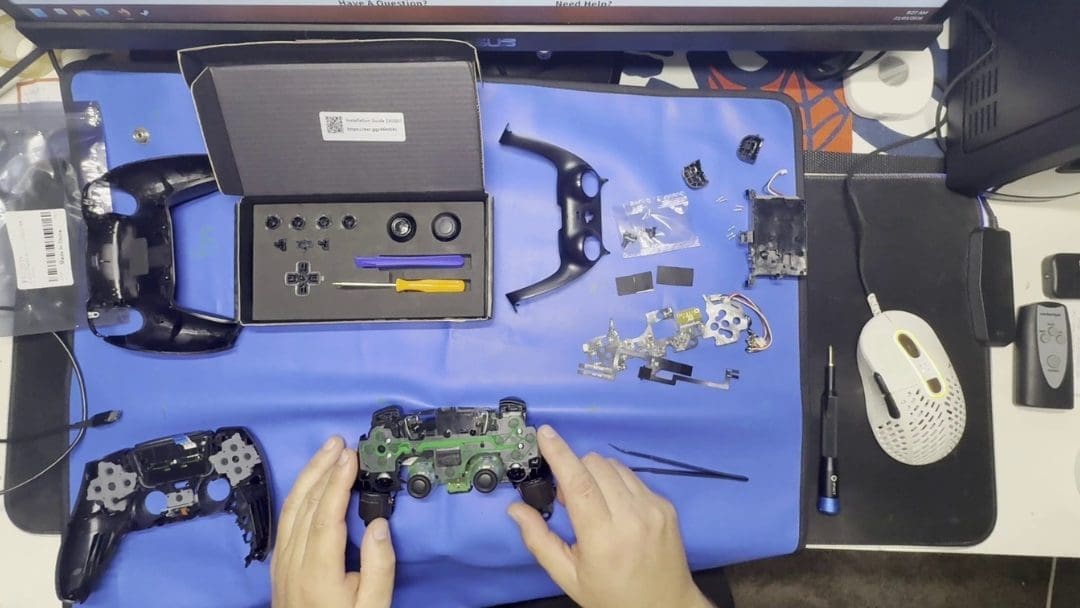
These three all matched the BDM010 or 020 range, and I was in business. The kit contained the two joysticks, all the face buttons, including the PS, screenshot and options, and the D-pad. Also included was a small screwdriver, a plastic pry tool, and the flexi circuit board.
The installation of the lighting kit is a daunting task. While I am good at electronics, there are a few ways in which this can go wrong. So, the first task was to ensure that I had adequate space and time to complete the installation; the recommendation was at least thirty minutes. I set aside half a day and a portion of my computer desk. I also pulled out both my LTT Mini Screwdriver and iFixit Screwdriver kits and placed down an antistatic mat. I then also put on the installation video to follow along.
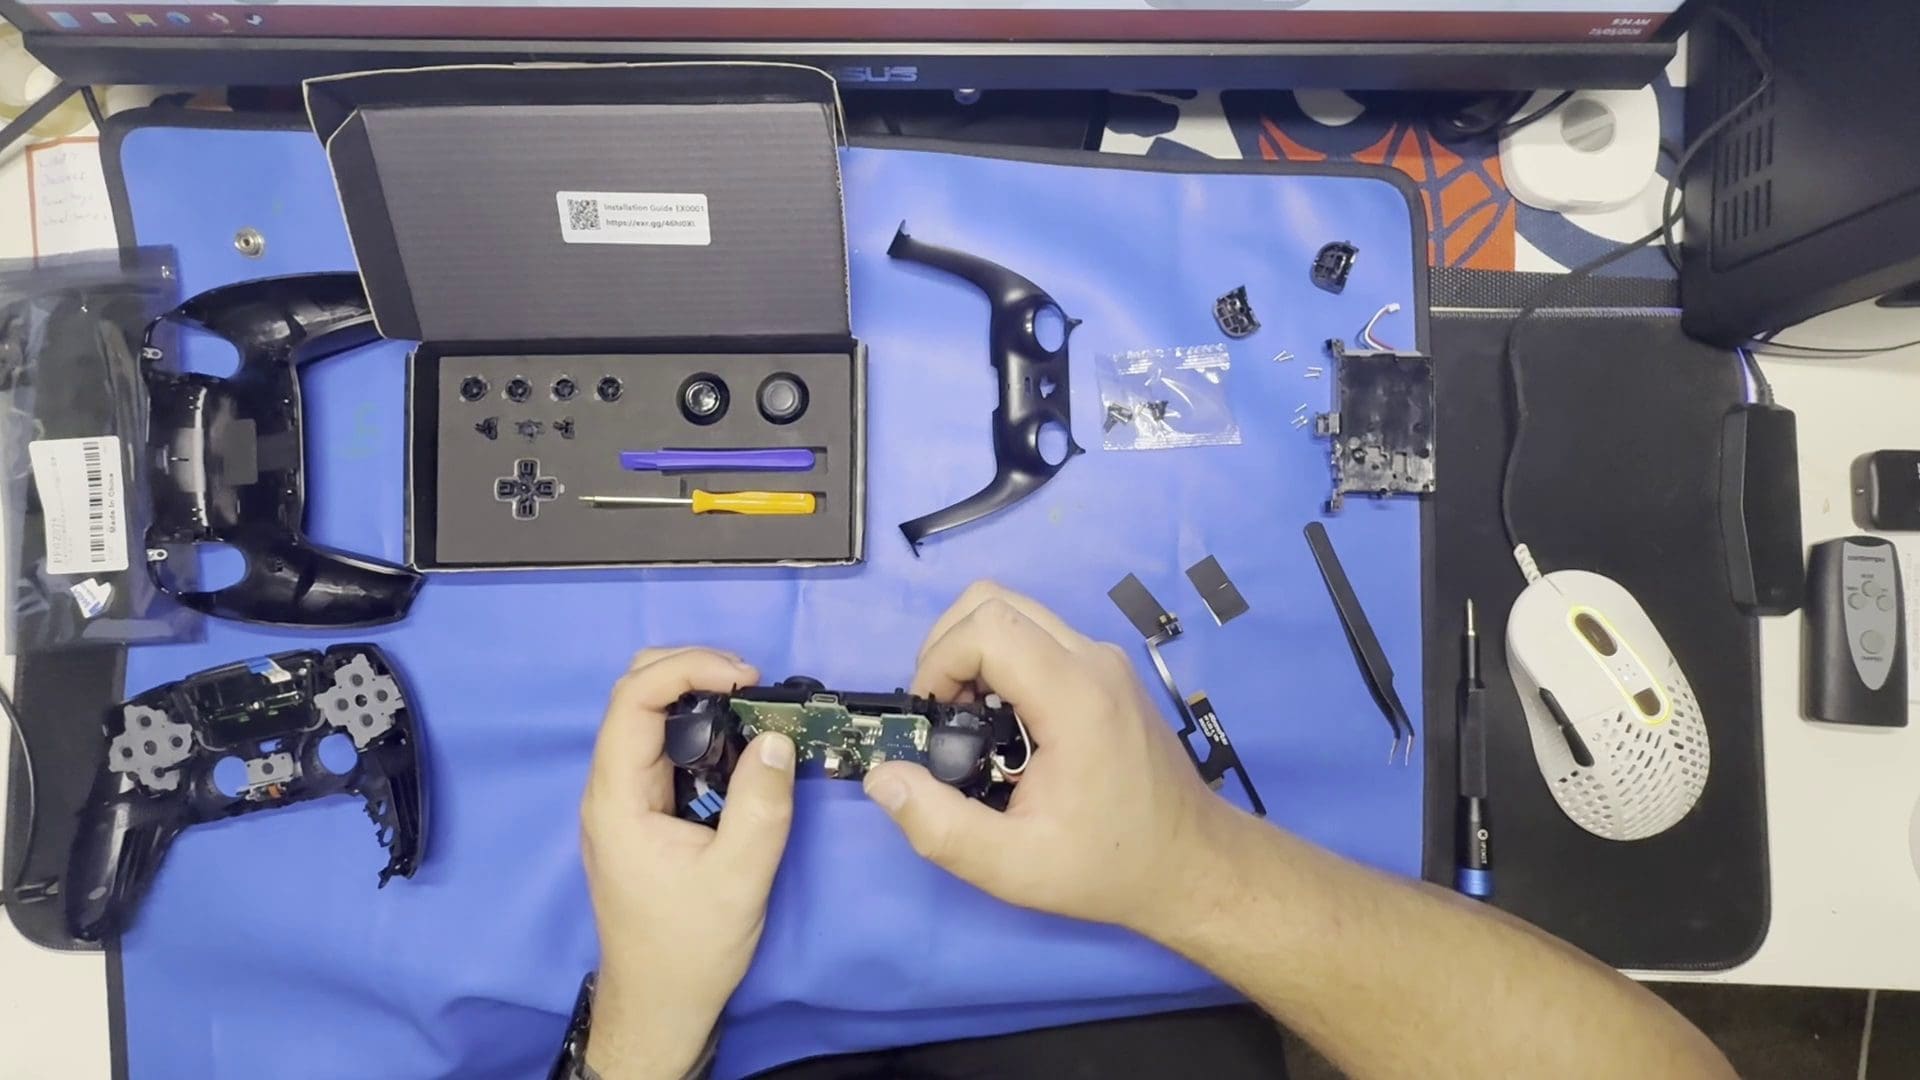
With preparation out of the way, it was now time to work. First task was the removal of the casing, using a plastic tool to lift the base of the controller and remove the L1 and R1 bumpers to reveal the four screws. Up next was the removal of the rear shell and battery, allowing access to the next set of screws. Before removing the plastic holder for the battery, there were some ribbon cables to shift to ensure they didn’t break. Three more screws were removed, and it was time to pull the ribbon cables. Then the last two outer screws are removed to allow the board and triggers to be taken from the front casing.
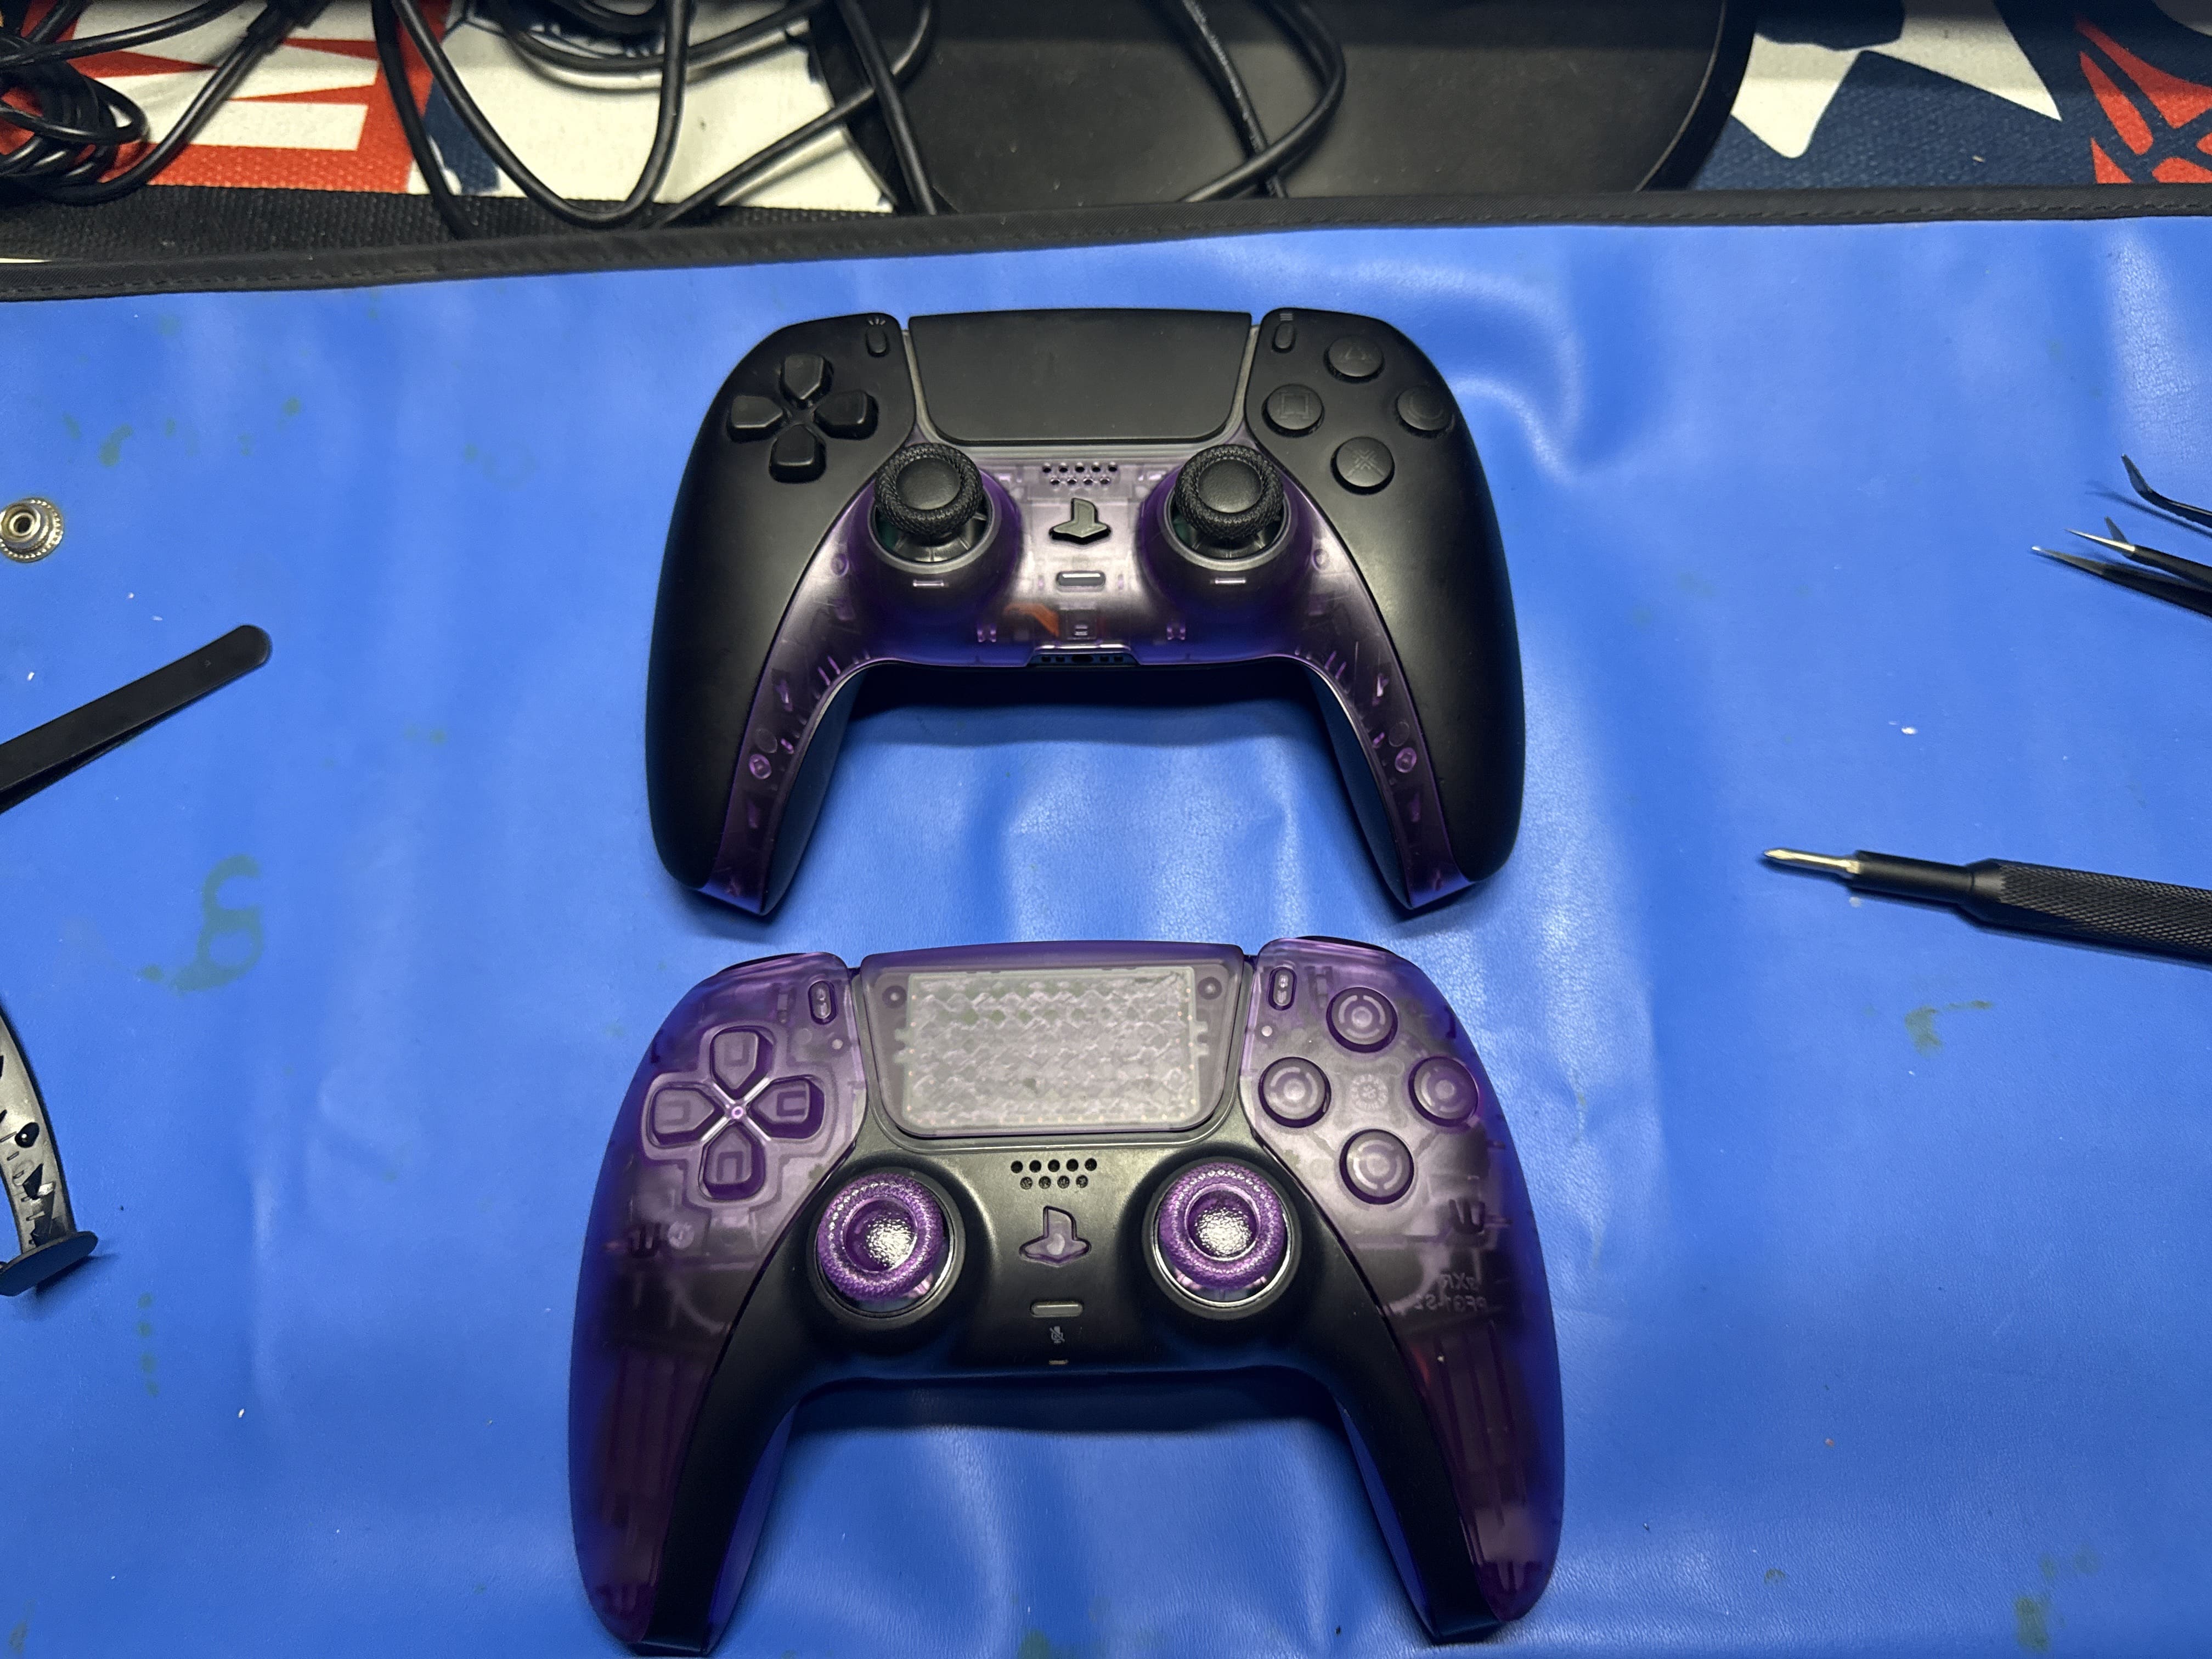
Next was the swapping of the face buttons and joysticks. This involved the removal of the rubber backing and gently replacing the face buttons one at a time, trying not to lose them in the process. I used my hands, but a set of tweezers would also be a great assistance. Once the buttons were in place, the rubber backing was reapplied. The joysticks were as simple as pulling off the old and putting on the new; a slight bit of additional pressure is required to seat them correctly.
Once all the buttons were in place, it was time to install the flexible circuitry. This is where the task gets a little harder. Double-checking the version of the controller is paramount at this part of the installation, as the next step involves cutting off the portion of the circuit that is not for this model. The black controller was stamped with the BDM-020 model on the main circuit board. I checked it multiple times to ensure I had it correct before snipping the ribbon cable.
Once these checks have been completed, it is time to lay the lighting kit flex board over the PS5 controller board and line up the pins to hold it in place. I used a set of tweezers to push the edges into place. I then pulled the associated ribbon cable into place, locking it in with the tweezers to the plastic tabs. Once I confirmed it was in the correct spot, I moved to replacing the ribbon cables with the new ones from Extreme Rate and then proceeded to put the controller back together. Ensuring to guide the ribbon cables and making sure nothing was pinched.
Once the controller was back together, I gave it a test and was happy to find it was fully functioning. Final testing was completed to ensure that the lights were working as intended. This kit allows for the lights to be changed to multiple colours. This process took me a little time to figure out, but it is explained in the installation video. I, however, had not gotten one of the ribbon cables correct, so I had to pull the controller apart and fix it. Once it was fixed, the associated buttons worked, and I was able to switch between the colours. Check out the full installation video attached below.
(Review product provided to Explosion Network.
Read about our review and ethics policy here.)