Explosion Network may receive a commission when you purchase something via a link on our site
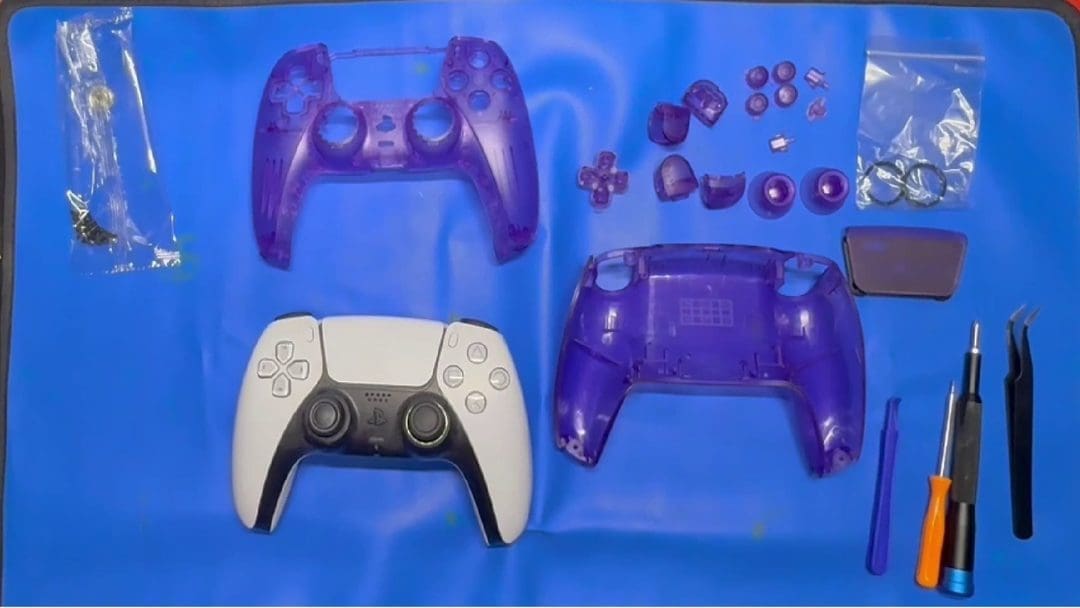
What Is It? Full shell replacement for the PS5 Controller, model BDM 010/020, in a clear atomic purple.
Difficulty: Intermediate, Guide
Model: QPFM5005G2
Where To Buy: Extreme Rate
Price: $27.99
I previously reskinned my Switch Pro Controller using a skin from Extreme Rate. After completing the lighting kit, I decided it was time to give my original white controller a new look. I chose the clear atomic purple skin because of its cool colour and a touch of nostalgia.
This kit comes with a full skin replacement that covers the front and back panels, the touchpad, all face buttons, the d-pad, L1, L2, R1, R2, and joysticks. It also comes with a full set of replacement screws, a screwdriver and a plastic pry tool. I also used an antistatic mat, the iFixit screwdriver kit, and tweezers, as well as a heat gun for the touch pad.
I set aside the time required, which was estimated to be thirty-five minutes; however, I ended up closer to the hour mark. Following the steps, I quickly dismantled the controller, removing both the front and rear of the controller. Setting aside the screws and parts to use later if needed. Remembering to be cautious, I pulled the battery and ribbon cables as per the instructional video.
The instruction video was paramount throughout this installation due to the complex nature; it explained how to do the task. I paused and rewatched a few points to ensure that I was completing the task correctly. Once the main part of the controller was dismantled, it was time to start replacing the components, the two main ones being the triggers, which required some precision in making sure that the cogs were lined up correctly when putting them back together, and the other was the touch pad, which required the use of a heat gun.
Now that the controller was fully dismantled, it was the slow task of putting it back together. Starting with the shroud for the joysticks, a task I made more difficult by not following the instructions correctly. Next was button placement, then swapping over the smaller components and cables. Next was the touchpad, which was a slow process of heating and trying to peel and heating some more until it was able to be peeled from its facing panel. This part took around five minutes to complete.
Now that the touch pad circuit had been transferred to its new home, the rest of the controller could be assembled in the housing. The touch pad goes back into the front panel, then the replacement of the triggers and putting them back into their home, then finally the joysticks. Once these smaller tasks were completed, the controller went back together with a bit of ease.
With the internals going into their slots and the screws being installed and tightened. I slowly put the controller back together, ensuring that everything was plugged back in. Then, with the final screws replaced, I turned the controller on, plugging it in and testing the functionality. Finding all the buttons worked as intended, I sat content with the completion of the reskin. See the video below for a condensed version of the installation.
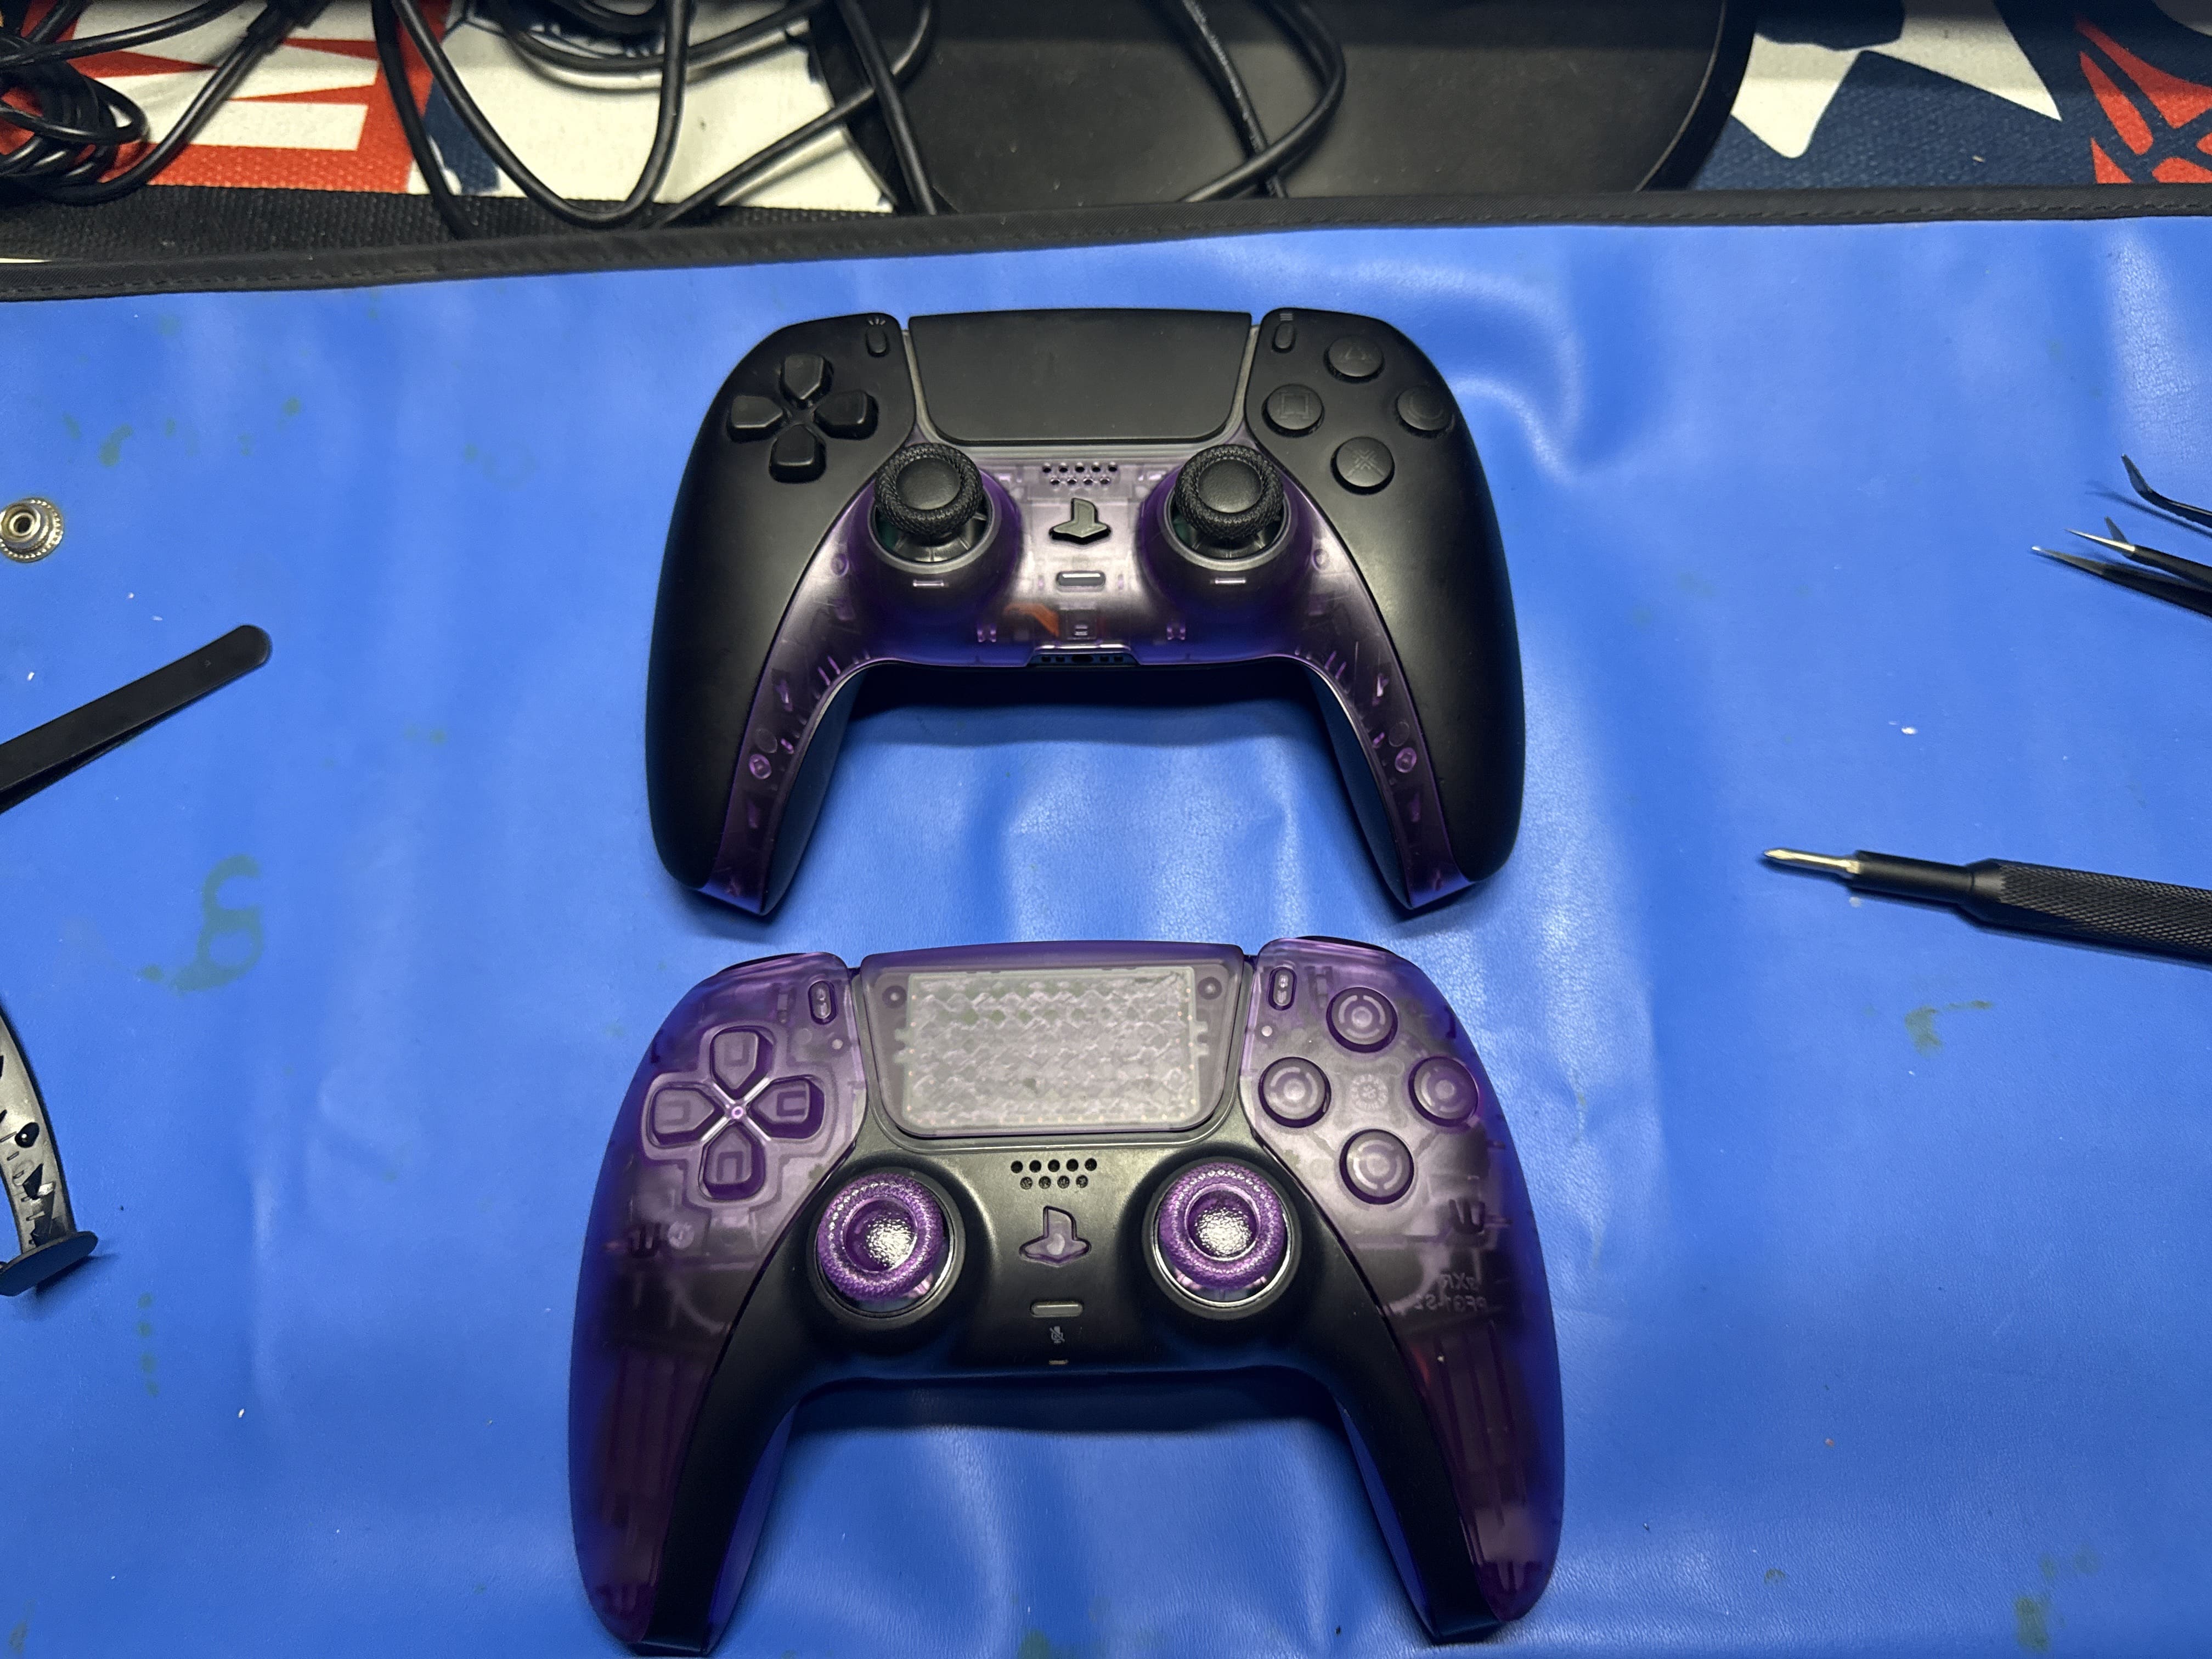
Overall, replacing the skin on this controller proved to be a more intricate process compared to the Switch Pro Controller. The task involved a few extra steps, including the careful use of a heat gun to soften the adhesive. I had to exercise extra caution while handling the delicate cogs and ribbon cables, making sure not to damage any components during the process. Despite the challenges, completing this mod was an enjoyable experience, though it did come with a slight bit of apprehension due to its complexity. I absolutely adore the aesthetic and tactile feel of the finished controller. The only modification I chose to implement was restoring the original facing around the joysticks, as I found that it enhanced the overall appearance to my liking.
(Review product provided to Explosion Network.
Read about our review and ethics policy here.)