Explosion Network may receive a commission when you purchase something via a link on our site
A new product from JSAUX for the Steam Deck, this rear plate is similar but with a twist on the previous designs. I have previously completed the front and rear cover replacement, which was a massive task taking around three hours. The rear plate is one of the more manageable replacement tasks that can be performed on the Steam Deck. I managed to have it completed in approximately sixteen minutes. There is a video at the bottom of this review if you want to check out how easy it was.
With the previous review, you may remember I broke my micro SD card; this time, I was more careful. Having taken the SD card out for use in a GoPro for a different project, the card remained safe and out of the device for this installation process.
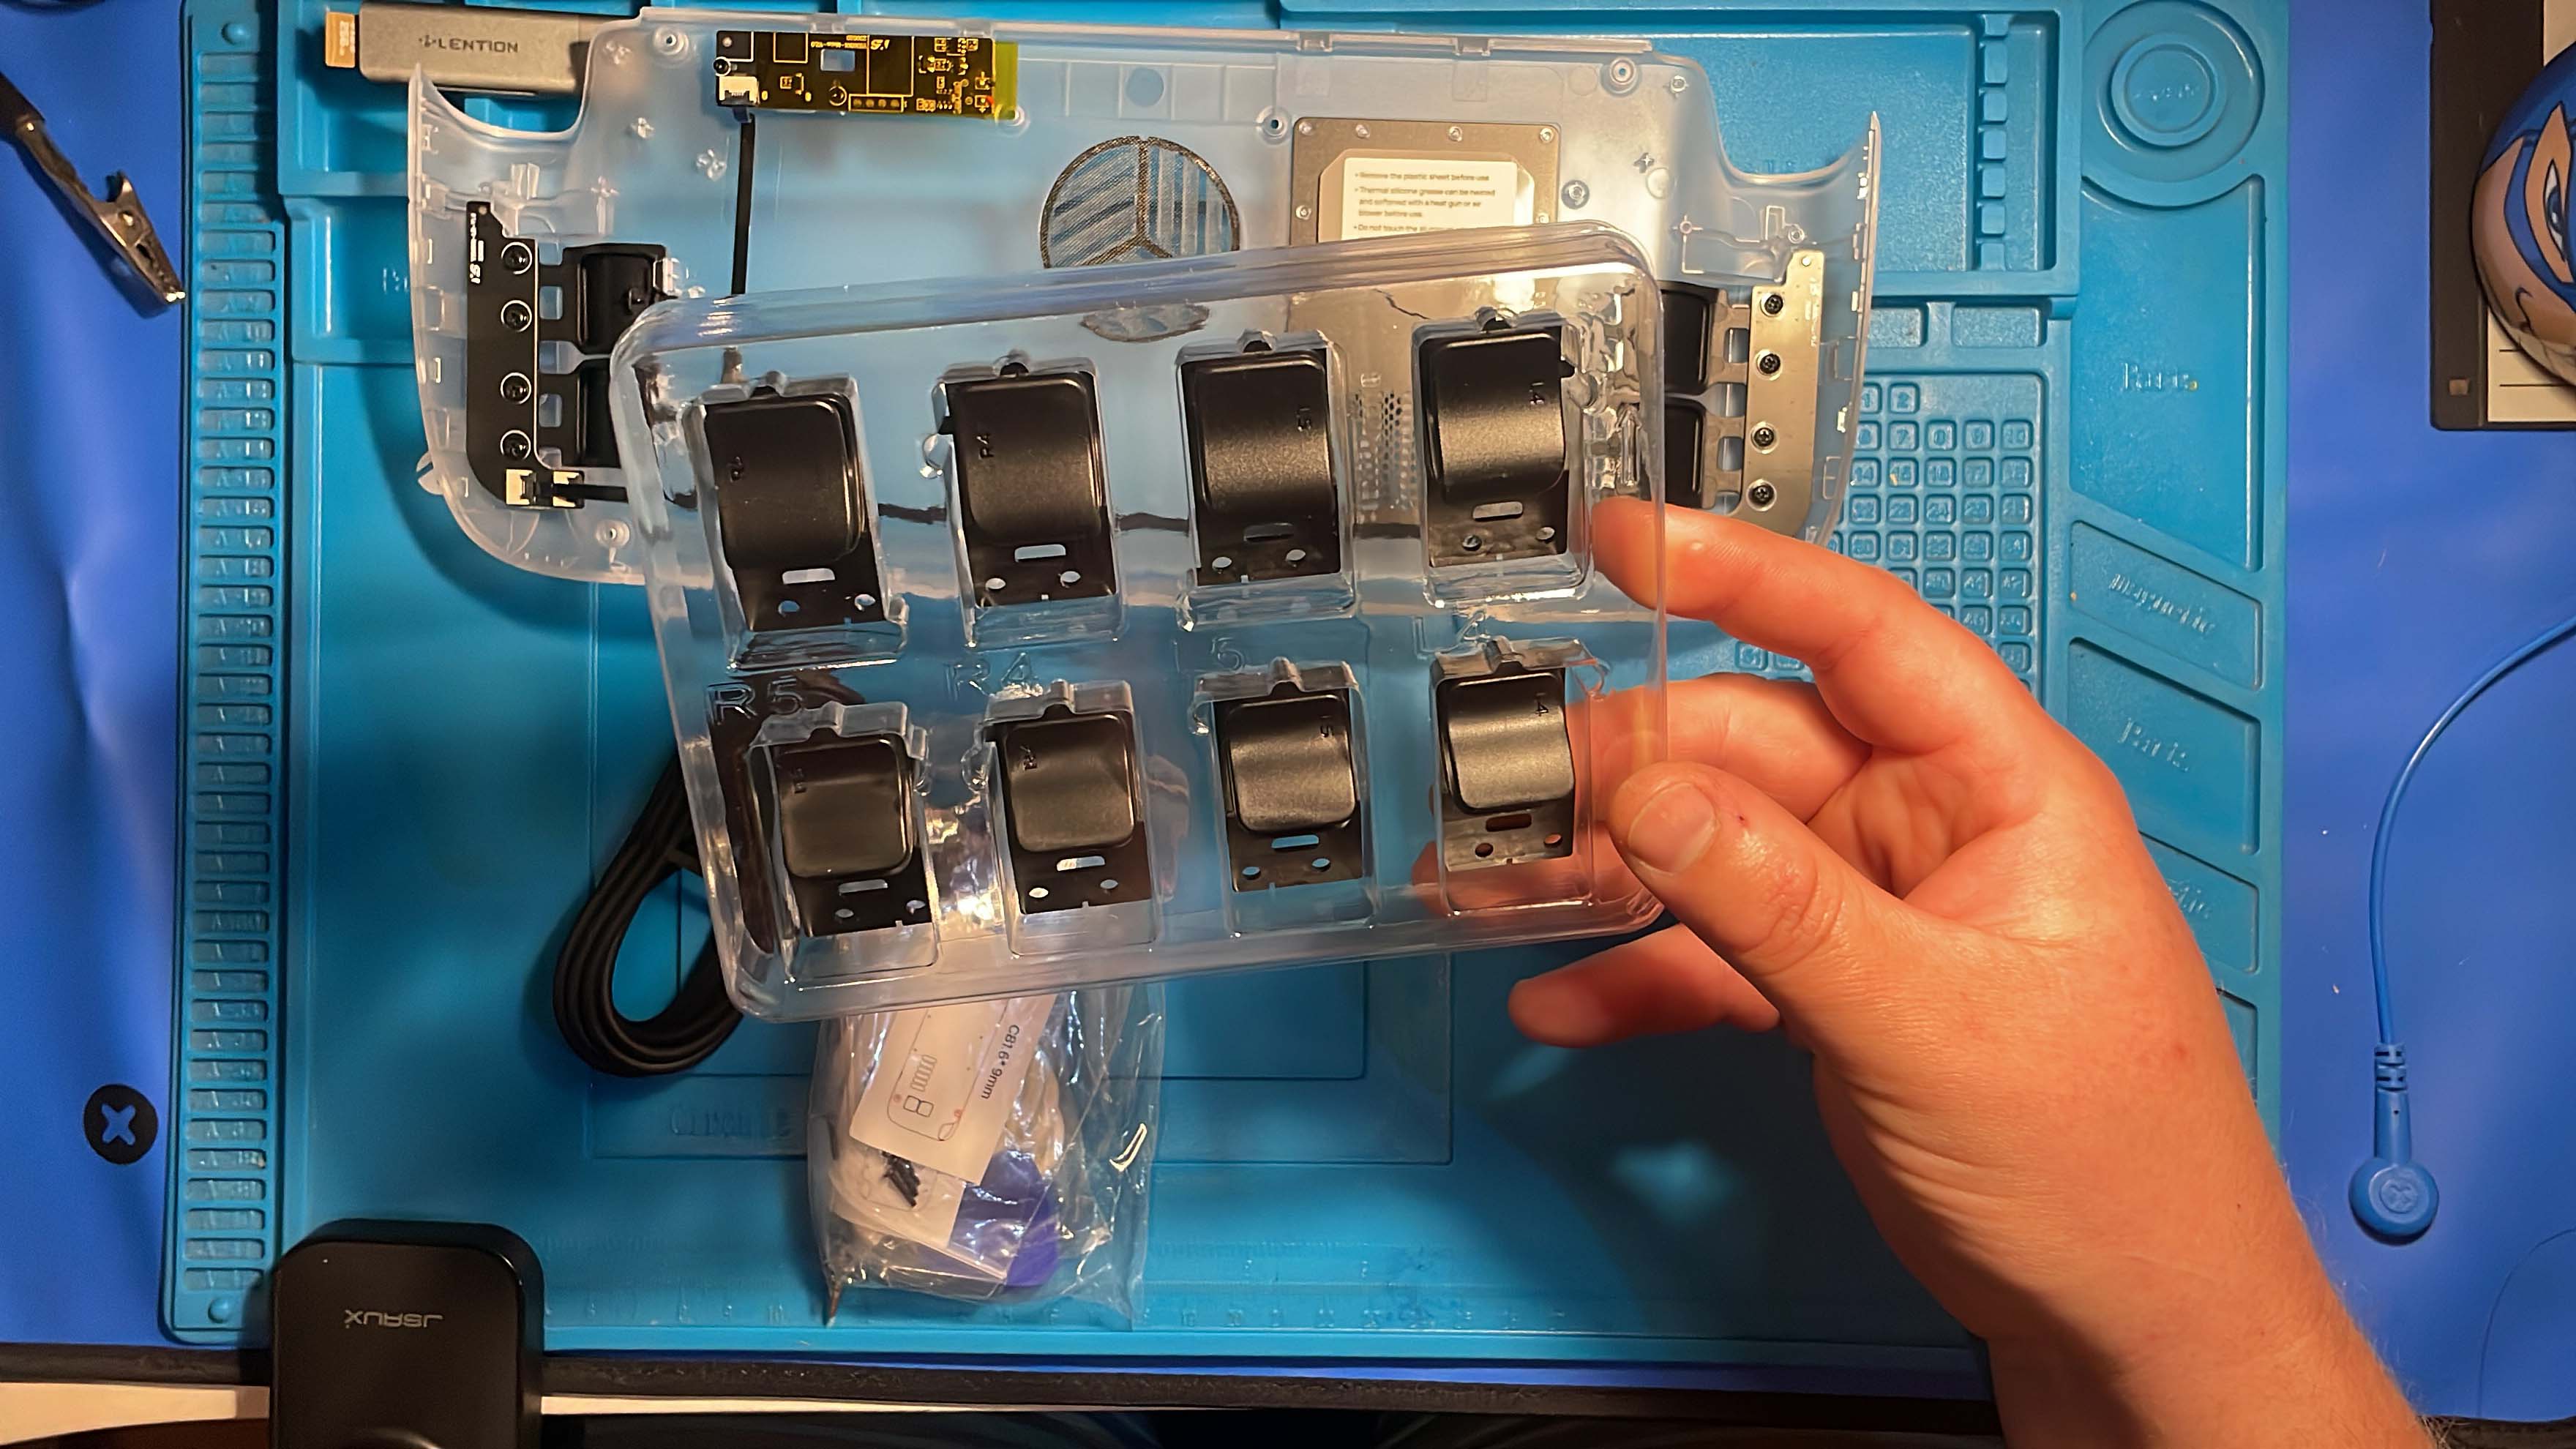
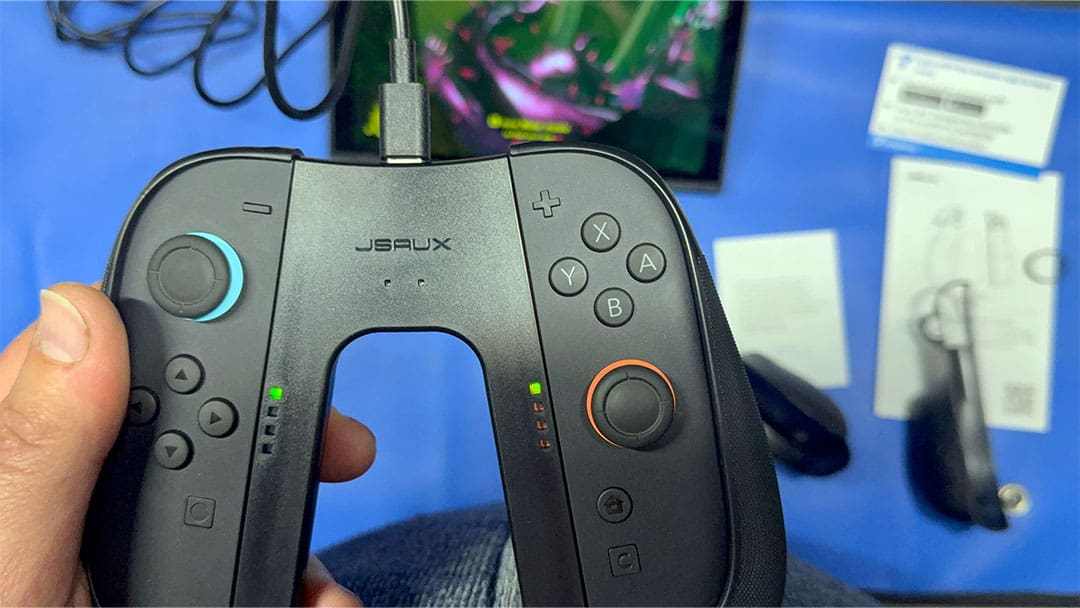
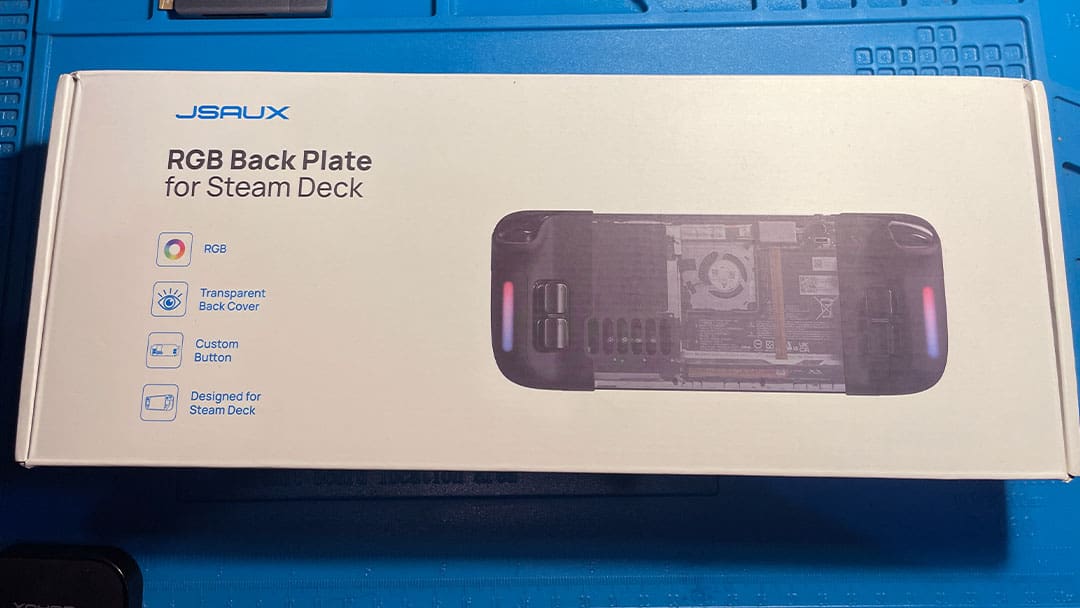
I sat down, set up my phone to record using the Lazy Arm Stand from JSAUX and got to work. The rear cover provided for this review is clear and not the brown I had previously worked with. The other main difference was the RGB LED lights and silicone grips. Before we got to the installation, it was a quick inspection of the box’s contents. Included in the box were the silicon grips, the rear cover, the screwdriver, pry tools, finger gloves, USB A–C charging cable, the swappable rear buttons and screws.
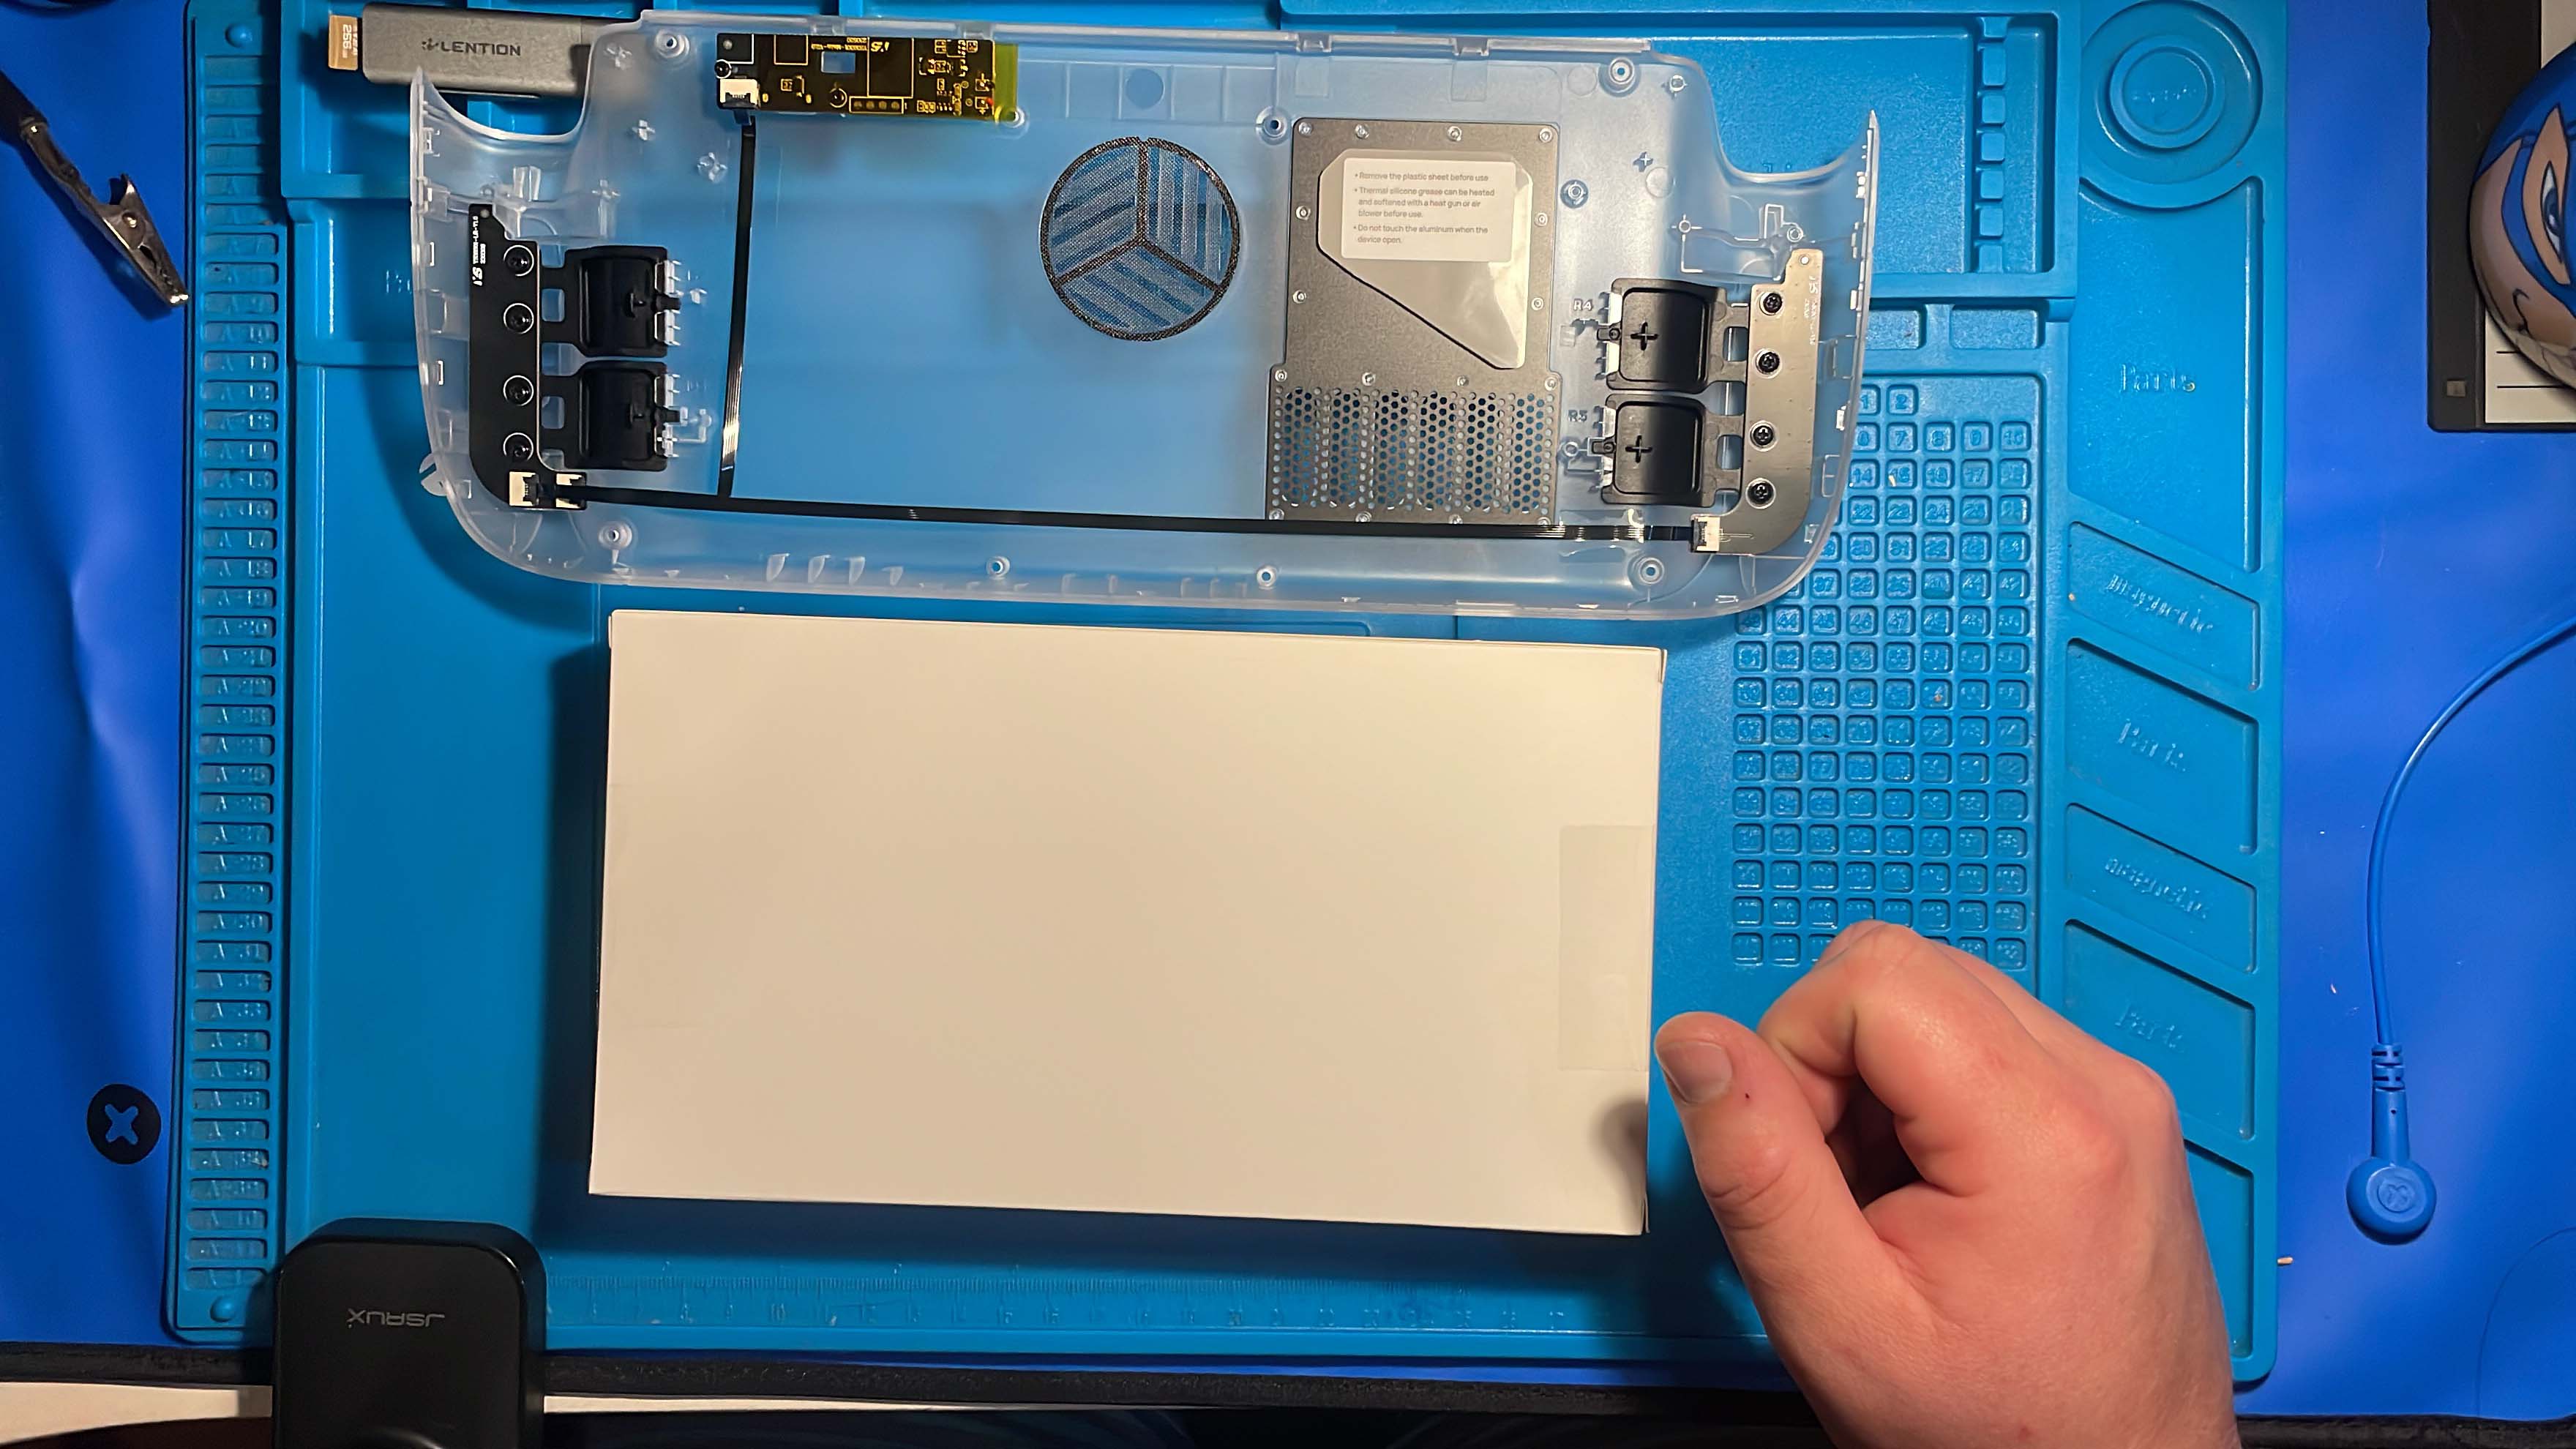
With the tools and components laid out, I was ready to remove the old cover. Commencing by removing the eight screws in order from right to left, this can be completed in any pattern you like, but this is my preferred method. Using the supplied pry tool, I lifted one edge and began to peel the rear cover off slowly. Once it was separated, I moved it out of the way and picked up the new rear panel, remembering to peel the plastic off the heat sink membrane. With the cover in hand, I clicked it into place, ensuring it lined up and no cables were pinched. I then tested the RGB function by holding the button on the rear panel. Within a few seconds, the panel lit up with a rainbow effect, and subsequent button presses cycled through the other colour options consisting of rainbow, red, green, blue, and purple. From here, I put the screws back in, tightened them and then tested the functions again.
With everything functioning the way it was designed, I then proceeded to install the silicone grips. The grips were easy to install by sliding them into place and ensuring to lift the side over the joystick. Once installed, I checked the clearance of the joysticks and fit around the various buttons and vents. With everything installed, it was time to play with the device. The grips had a similar feel to the mod case, and moving from the mod case to just the silicone grips took a little getting used to, mainly due to not having the stand. The mod case front still slides on, and although it’s not a perfect fit, it still manages to protect the unit and joysticks during travel. The silicone grips also allow the RGB to shine through, making them the ideal companion piece for the rear cover.
On my previous rear plate installations, I changed out the rear buttons for a higher version; this time, I decided to leave the factory-style ones in place. This is a personal preference and can be swapped out at any time by removing the rear plate and unscrewing and screwing the other ones in place. The RGB colours are a fun addition to the Steam Deck, and although it doesn’t do anything more, it does give a nice glow to the device.
Overall, this exchange was simple and having done it multiple times now, I find it easy to complete. For less experienced people, they may be more hesitant. Although the RGB doesn’t help the cooling functions of the Steam Deck, it does make it cooler as a device. The silicone grips are a great addition as they do not impede the extra rear vent. Unlike the mod case, they also allow for the RGB to be seen.