JSAUX has developed more items for Steam Deck enthusiasts than most. Their latest addition to the lineup is the transparent cover series, which I have been lucky to receive. I was excited to work on this item, but first, what is it?
The development team at JSAUX have been bustling, with new things showing up regularly from them. One of the latest is the full replacement kit for the Steam Decks’ front and rear enclosures. These come in a small range of colours, including crystal, purple and brown, bringing a cool new look to the Deck’s already great appearance. I went with brown as it was the choice available to me. Many friends I know would like purple for nostalgia, giving their Steam Deck a similar look to the GameBoy. I decided to record the front and rear cover replacements for your enjoyment, which you can see in the videos below.

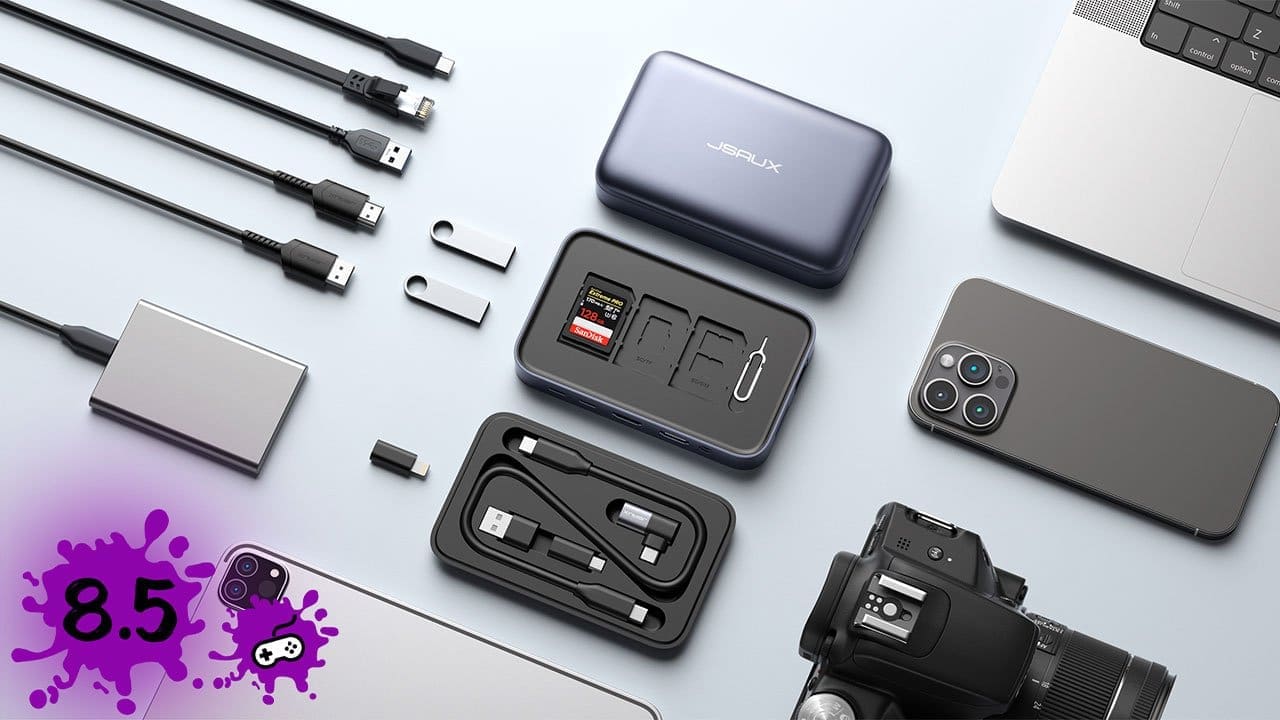
Starting, I unboxed the face cover. In the box was a variety of useful tools and items, this included antistatic finger gloves, a screwdriver, small pry, big pry, a suction cup, tweezers, a triangle pry tool and a screen adhesive cutting sheet. Other items I had on hand included an antistatic mat, a lamp, a hair drier, a phone tool kit, and the iFixit screwdriver kit, which were mostly unused minus the additional pry tools. Other items in the box were the front cover, adhesive strips, and various spare screws. My workspace was set up, and I was almost ready to go.
I also brought the instructional video up and had the text-based instructions close at hand. Both were helpful throughout this project and are supplied on the JSAUX installation FAQ. Be aware the video and the text tutorial work in different orders, so best to choose one or the other to follow. I used the video mainly, but there was one stage where I needed guidance and scrolled through the text-based information to find what I needed.
With my workspace setup, coffee and water at hand and the stream ready to record, I was on my journey to replace the front cover. The first stage was to remove the Micro SD card before removing the rear cover; I forgot this stage and unfortunately managed to break my SD card. Working from the back cover forward, this was a straightforward journey. The box for the front cover has a handy tray to store all the removed items with an insert that I later realised was to show where the removed components lived. Slow and steady was the progress for the journey, dropping the screws in the labelled screw box. There are many types and sizes, so doing this while pulling the Deck apart is preferable. Once the main parts had been dismantled, it was time to remove the screen, this part I had the most trepidation about doing. Following the detailed instructions, I heated the edges and used the tools in the box to lift the screen slowly, and I had a screen protector on that I chose to remove before doing this part. With some effort and heat, I could lift the screen out of its housing using the supplied adhesive cutting tools. I worked my way around the edges and had the screen free in a short period. The next step involved the smallest screws; these were holding the rear motherboard and the screen housing together. With these screws removed and the adhesive from the ribbon cable, it was time to transfer the internals into the new enclosure. Although pulling the Deck apart was quick, about an hour, putting the unit back together was a slower process as I watched the tutorial video very closely.

I cleaned the old adhesive off the screen and the internals before applying the fresh adhesive. JSAUX was clear this needed to be done to ensure the screen returned on flush. Once the screen, Motherboard and screen sensors had been inserted, and it was time to reconstruct the Steam Deck. As previously mentioned, this was a slower process. I watched the video intently, ensuring that all the components were installed correctly and that the cables and ribbon cables were in the correct place. I had a few instances where I messed this up; fortunately enough, it was simple to fix by unscrewing or just moving the cables back to where they needed to be. Of these cables, the ribbon cable between the motherboard and the screen was the main issue. As I had not plugged it in correctly, it prevented the unit from having the display function. I also had some ribbons caught underneath the upper layers of the components on the right side, simply fixed by pulling them into the correct area. The only other issue I had was the trigger springs were quite hard to get back in. I ended up losing one and placed an order for a new one but lucky enough found it when packing up and could cancel that order. Replacing the springs took finesse and skill.
Once all the components were plugged in and looked correct, it was time to test if the unit would function. I initially used the bios to place the battery in transport mode, so I required a powered USB C to bring it back to life. Plugging the USB C cable in, I was able to see the charging light activate. Holding the power button in, I heard the unit come to life, the fan spun, and the speakers chimed, but nothing came up on the display. My heart skipped a beat, and I calmed myself, thinking about what it could be. Three screws and unplugging the battery were all that was needed to access the ribbon cable behind the screen, they were removed, and the cable reseated. With the screws screwed back in and the battery plug reconnected, it was time to test again. With the press of the power button, the unit made the chime, and the Steam Decks display was alive again. While I had the unit on, I decided to check the functions, heading into the menu, and finding the testing area, all the buttons worked like they were meant to. I then shut down the Steam Deck and moved to replace the rear cover. I used my current rear cover due to time restrictions. After filming, I tidied up and found the spring, opened the back and put the spring in the trigger off camera, taking approximately five minutes to complete the task.
Next up was the rear cover installation, a quicker replacement than the front cover and overall took me about 15 minutes in total. Removing the eight screws from the rear was a little harder than the rest, and I had to use the screwdriver from the front cover replacement to remove it. I then used the pry tool to remove the rear plate. I followed this by grabbing the new rear cover and installing the rear triggers, once again going with the higher designs I have grown used to. Next, I peeled off the plastic from the heat pad and, lastly, placed the cover back onto the Deck, clicking it into place. Noticing the new design with more vents and a smaller heat pad. The look and feel are still quite nice. I finished off by placing the eight screws back into place, using the JSAUX ones to replace the originals. I then proceeded to test the naked unit to see how much difference the new case made to the old, seeing the temperatures float around the same margins. I have not done extensive testing due to not having a testing lab set up to keep parameters the same. From the small amounts of testing I have done, the JSAUX cover seems to keep the Deck slightly cooler than the factory version.
Overall, the installation was nice and straightforward for me, who has torn down and rebuilt items before. Novices might want to work with someone who has more skills to ensure that they don’t damage the unit. In saying this, I still made some mistakes, such as the SD card and the ribbon cables. The project took me approximately 3.5 hours to complete. The parts that were the hardest for me were the screen removal due to the heat and adhesive and the reinstalling of the triggers as they take a bit of force while also having to insert the springs. As mentioned, I did manage to lose one. Still, I was able to retrieve it and install it. The rear cover was even easier than the front. Taking a brief fifteen minutes, I am confident that even beginners or non-enthusiast would be able to complete it in a similar timeframe.
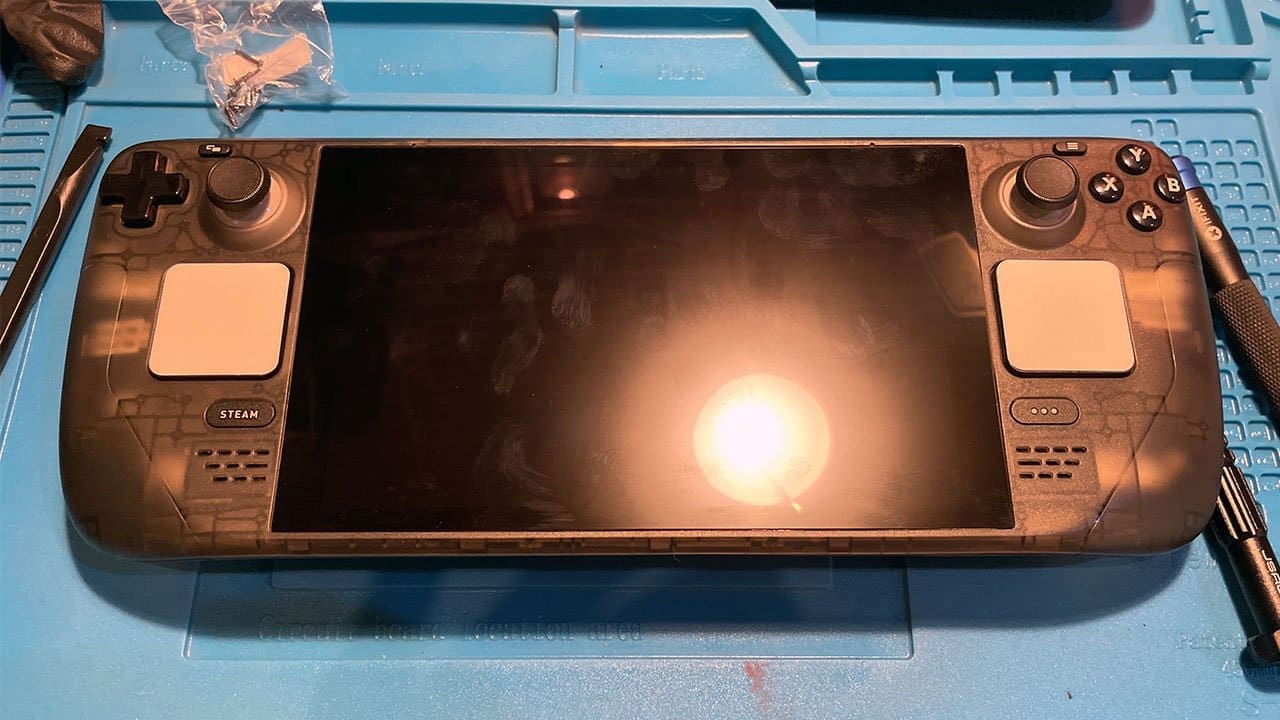
The new enclosure feels fantastic and looks great. While the transparent brown looks closer to a clear black, it still gives a hint of the technology working inside the Deck. I could see the transparent clear or purple shining as they gave even greater insights into the Deck. As you will see, I recorded my sessions so you can see the time taken to complete them. I enjoyed working on the Deck, and the assistance from JSAUX in this process has been fantastic, as always.